Mastering the art of sewing mesh fabric requires a combination of fine needles, specific stretch stitches, and calibrated machine tension to maintain garment integrity. You likely know the frustration of starting a high-performance activewear project only to have the machine “swallow” the delicate netting into the throat plate. This common setback often leads to puckered seams, snagged fibers, and ruined materials before the first garment piece is even joined. By following a technical roadmap focused on professional tool selection and machine calibration, you can achieve flawless results with power mesh fabric every time.
Which needle is best for power mesh fabric?
Selecting a new, fine-gauge ballpoint or stretch needle is the foundational requirement for successfully sewing power mesh fabric. These needles feature a rounded tip specifically designed to slip between the knit fibers rather than piercing and tearing them. Using a standard sharp needle often results in visible “runs” or permanent holes that compromise the structural recovery of the textile.
Why use ballpoint needles?
Ballpoint needles are essential because they preserve the knit structure of your project. Unlike sharp needles that can cut elastane strands, the ballpoint tip pushes the yarns aside.
Think about it. If you use a needle that is too aggressive, you risk snapping the very fibers that give the material its stretch.
- Rounded tips prevent snags.
- Preserves elastane integrity.
- Reduces skipped stitches.
What is the best needle size?
The point is this: the needle must match the lightweight nature of the mesh. A size 70/10 or 80/12 is typically ideal for most apparel applications.
| Needle Type | Recommended Size | Best Use Case | |
|---|---|---|---|
| Ballpoint | 70/10 – 80/12 | Standard Power Mesh & Knits | |
| Microtex | 60/8 – 70/10 | Very Fine/High-Density Mesh |
This selection ensures that the needle penetration is as small as possible while maintaining enough strength to carry the thread.
Key Takeaways:
- Always start every project with a fresh needle.
- Use ballpoint tips to avoid cutting delicate stretch fibers.
- Stick to sizes 70/10 or 80/12 for optimal performance.
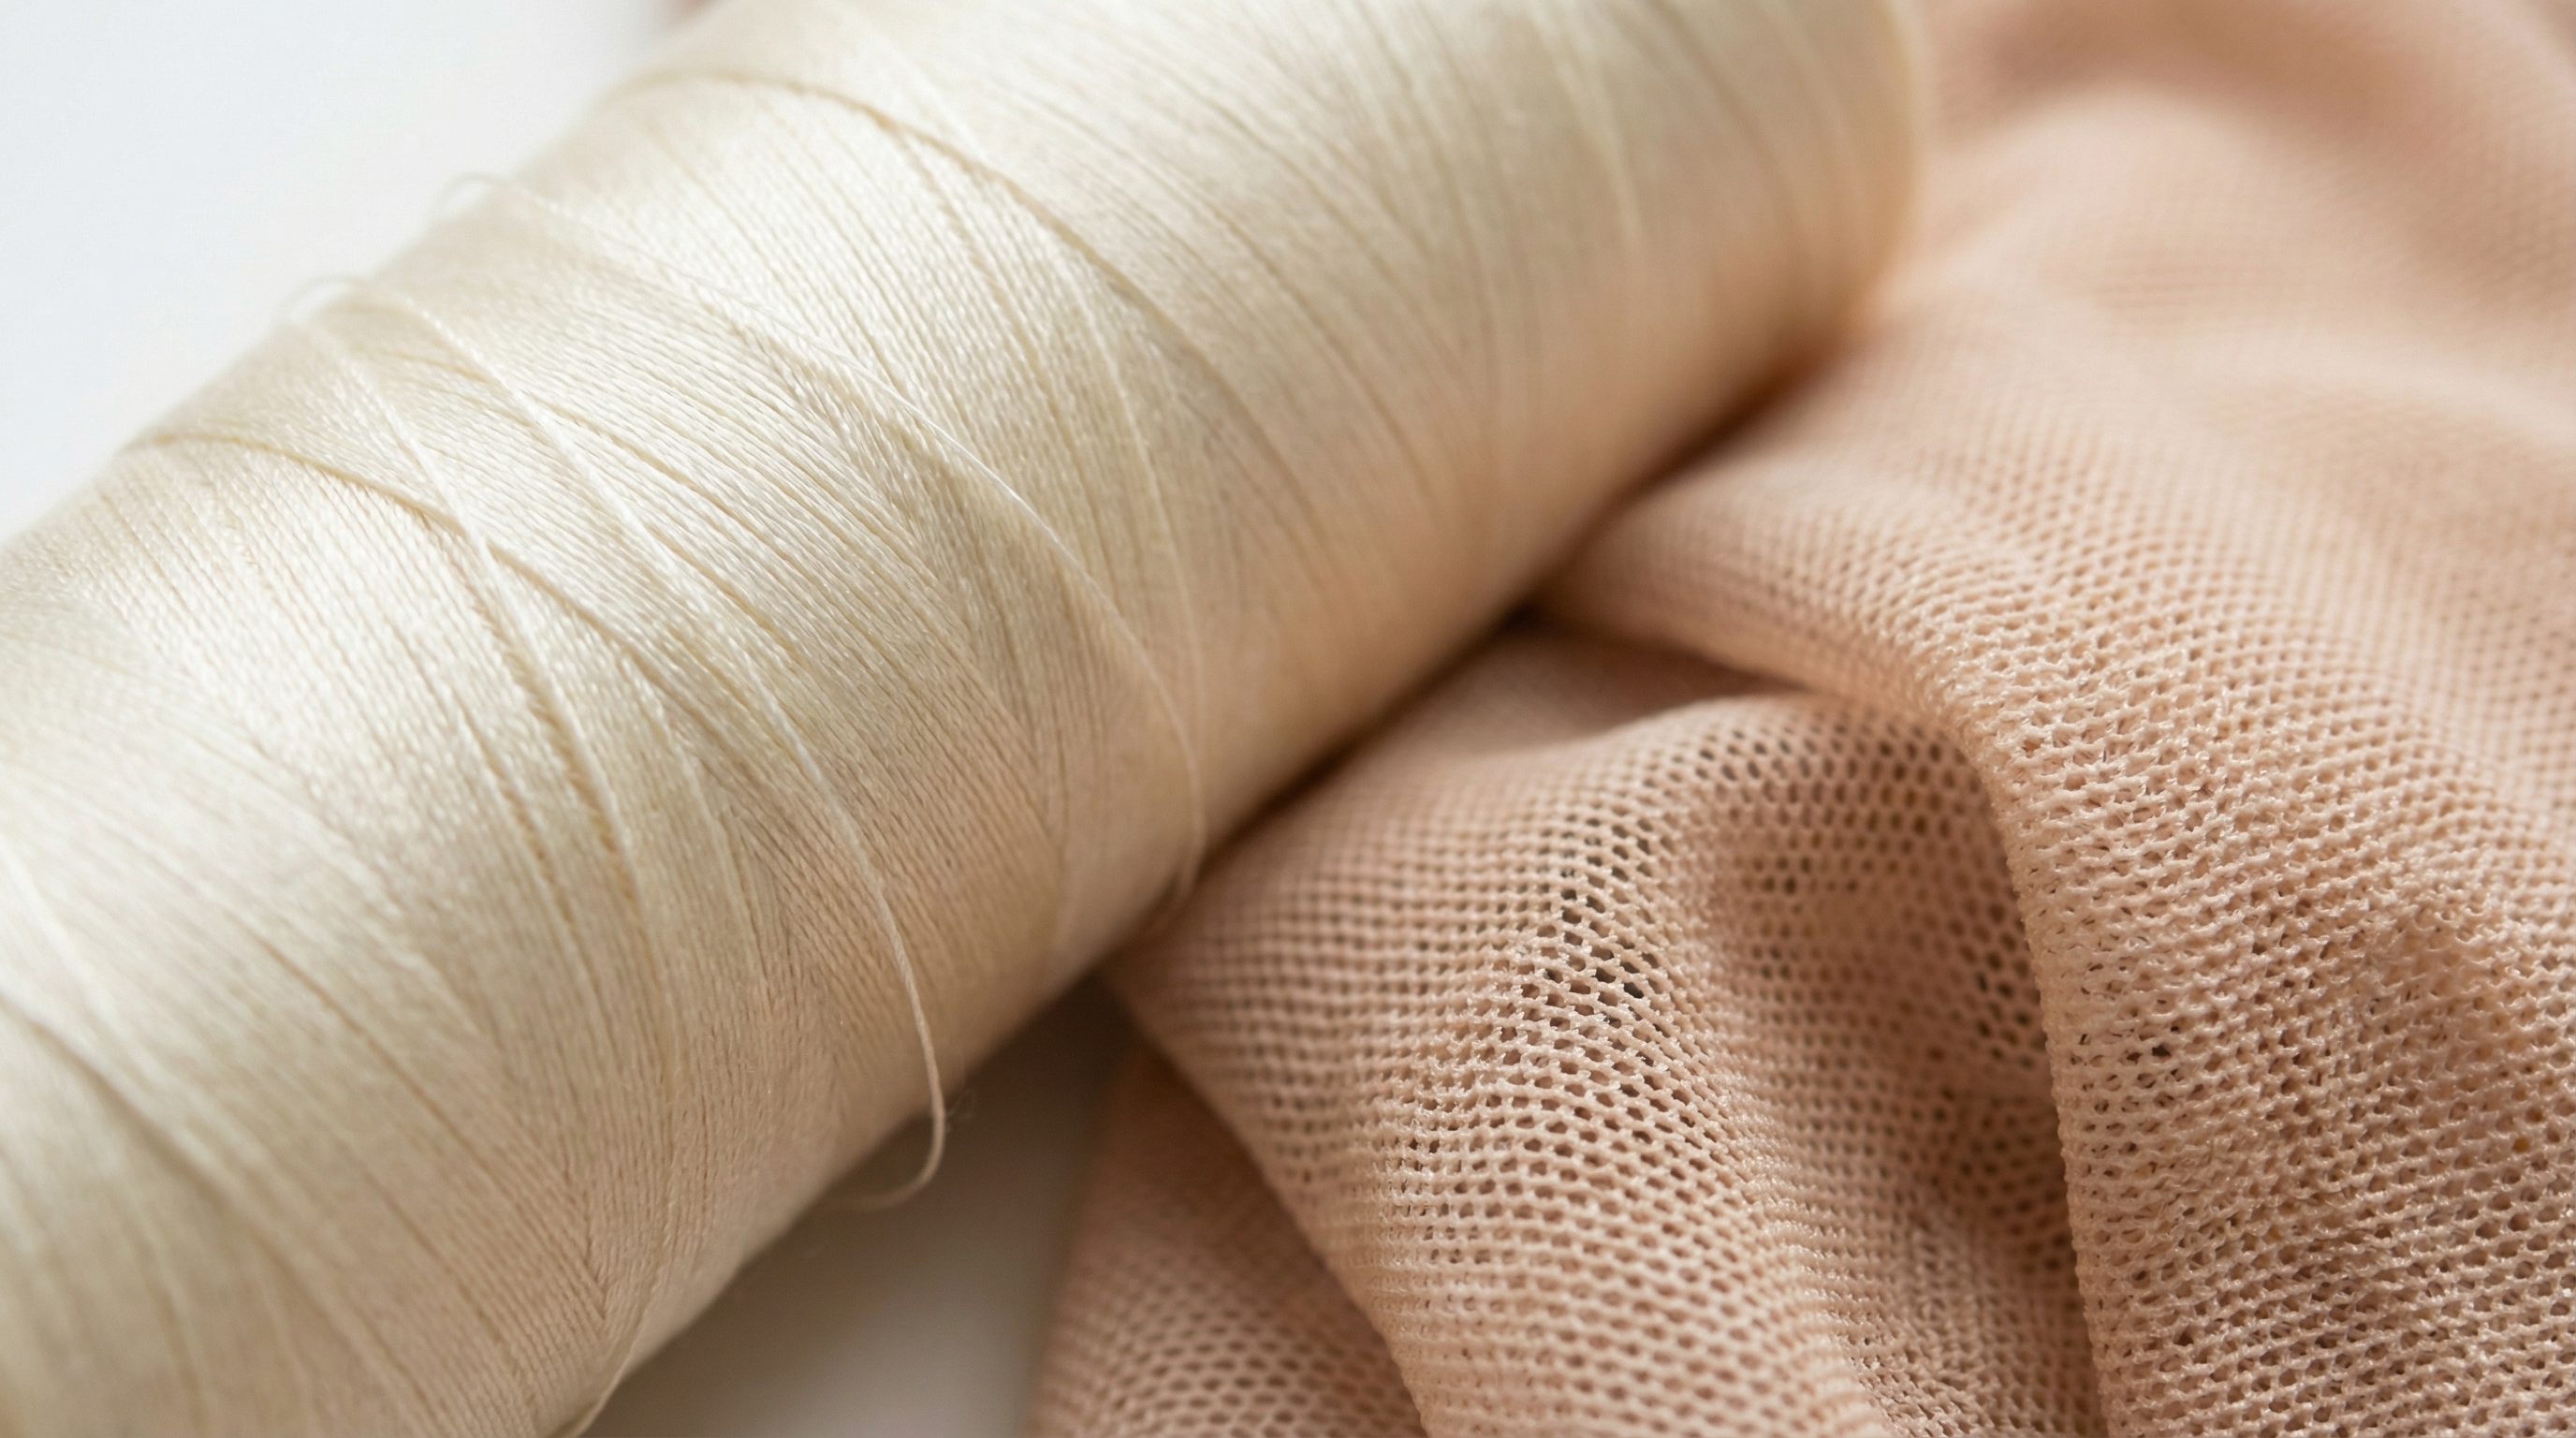
What thread works for power mesh fabric?
You should utilize a high-quality, lightweight 100% polyester thread when constructing garments with power mesh fabric to ensure the seams can withstand significant stretching. Polyester is the industry standard for synthetic knits because it offers the necessary flexibility and strength to move with the garment. Cotton threads lack this elasticity and are prone to snapping under the tension of athletic or form-fitting wear.
Why choose polyester thread?
Polyester thread is superior because it is color-fast and chemically resistant to perspiration. This makes it the perfect partner for performance-based materials.
Believe it or not, the thread choice is just as critical as the fabric itself for longevity.
- Offers high tensile strength.
- Resistant to UV and moisture.
- Provides necessary seam “give.”
Should you use clear nylon thread?
Here is the deal: clear nylon monofilament is an excellent choice for creating nearly invisible seams in sheer overlays. However, it can occasionally feel “scratchy” against the skin if used in high-friction areas like underarms.
| Thread Type | Pros | Cons | |
|---|---|---|---|
| Polyester (All-purpose) | Strong, flexible, color-fast | Visible on sheer areas | |
| Clear Nylon | Nearly invisible | Can be “scratchy” against skin |
Choosing between these depends entirely on whether the seam is decorative or structural within your design.
Key Takeaways:
- Polyester thread provides the best balance of strength and stretch.
- Avoid cotton threads which snap under tension.
- Test clear nylon for skin comfort before completing full garments.

Which stitch secures power mesh fabric?
Determining the best stitch for power mesh fabric involves selecting a setting that allows the seam to expand and contract without breaking. A narrow zigzag stitch or a triple stretch stitch is generally the most effective way to maintain the textile’s natural recovery. Rigid straight stitches will inevitably fail because they do not have the inherent “play” required for high-stretch applications.
When to use zigzag stitches?
A narrow zigzag stitch is the workhorse for most mesh seams. By setting a small width and medium length, you create a seam that acts like a spring.
The best part? This stitch remains relatively flat while providing maximum elasticity.
- Width: 0.5mm to 1.5mm.
- Length: 2.0mm to 2.5mm.
- Maintains fabric drape.
Is the triple stretch stitch better?
As it turns out, the triple stretch stitch is your best option for high-stress areas like waistbands or crotch seams. This stitch repeats its path to create a reinforced bond that is nearly impossible to break.
| Stitch Type | Width Setting | Length Setting | Application | |
|---|---|---|---|---|
| Zigzag | 0.5 – 1.5mm | 2.0 – 2.5mm | General Seaming | |
| Stretch Stitch | Machine Default | Machine Default | High-Stress Areas |
Utilizing these specialized stitches prevents the “popped seam” syndrome common in DIY activewear.
Key Takeaways:
- Avoid straight stitches on any part of the garment that must stretch.
- Use narrow zigzag settings for a professional, clean finish.
- Reserve triple stretch stitches for points of extreme physical stress.
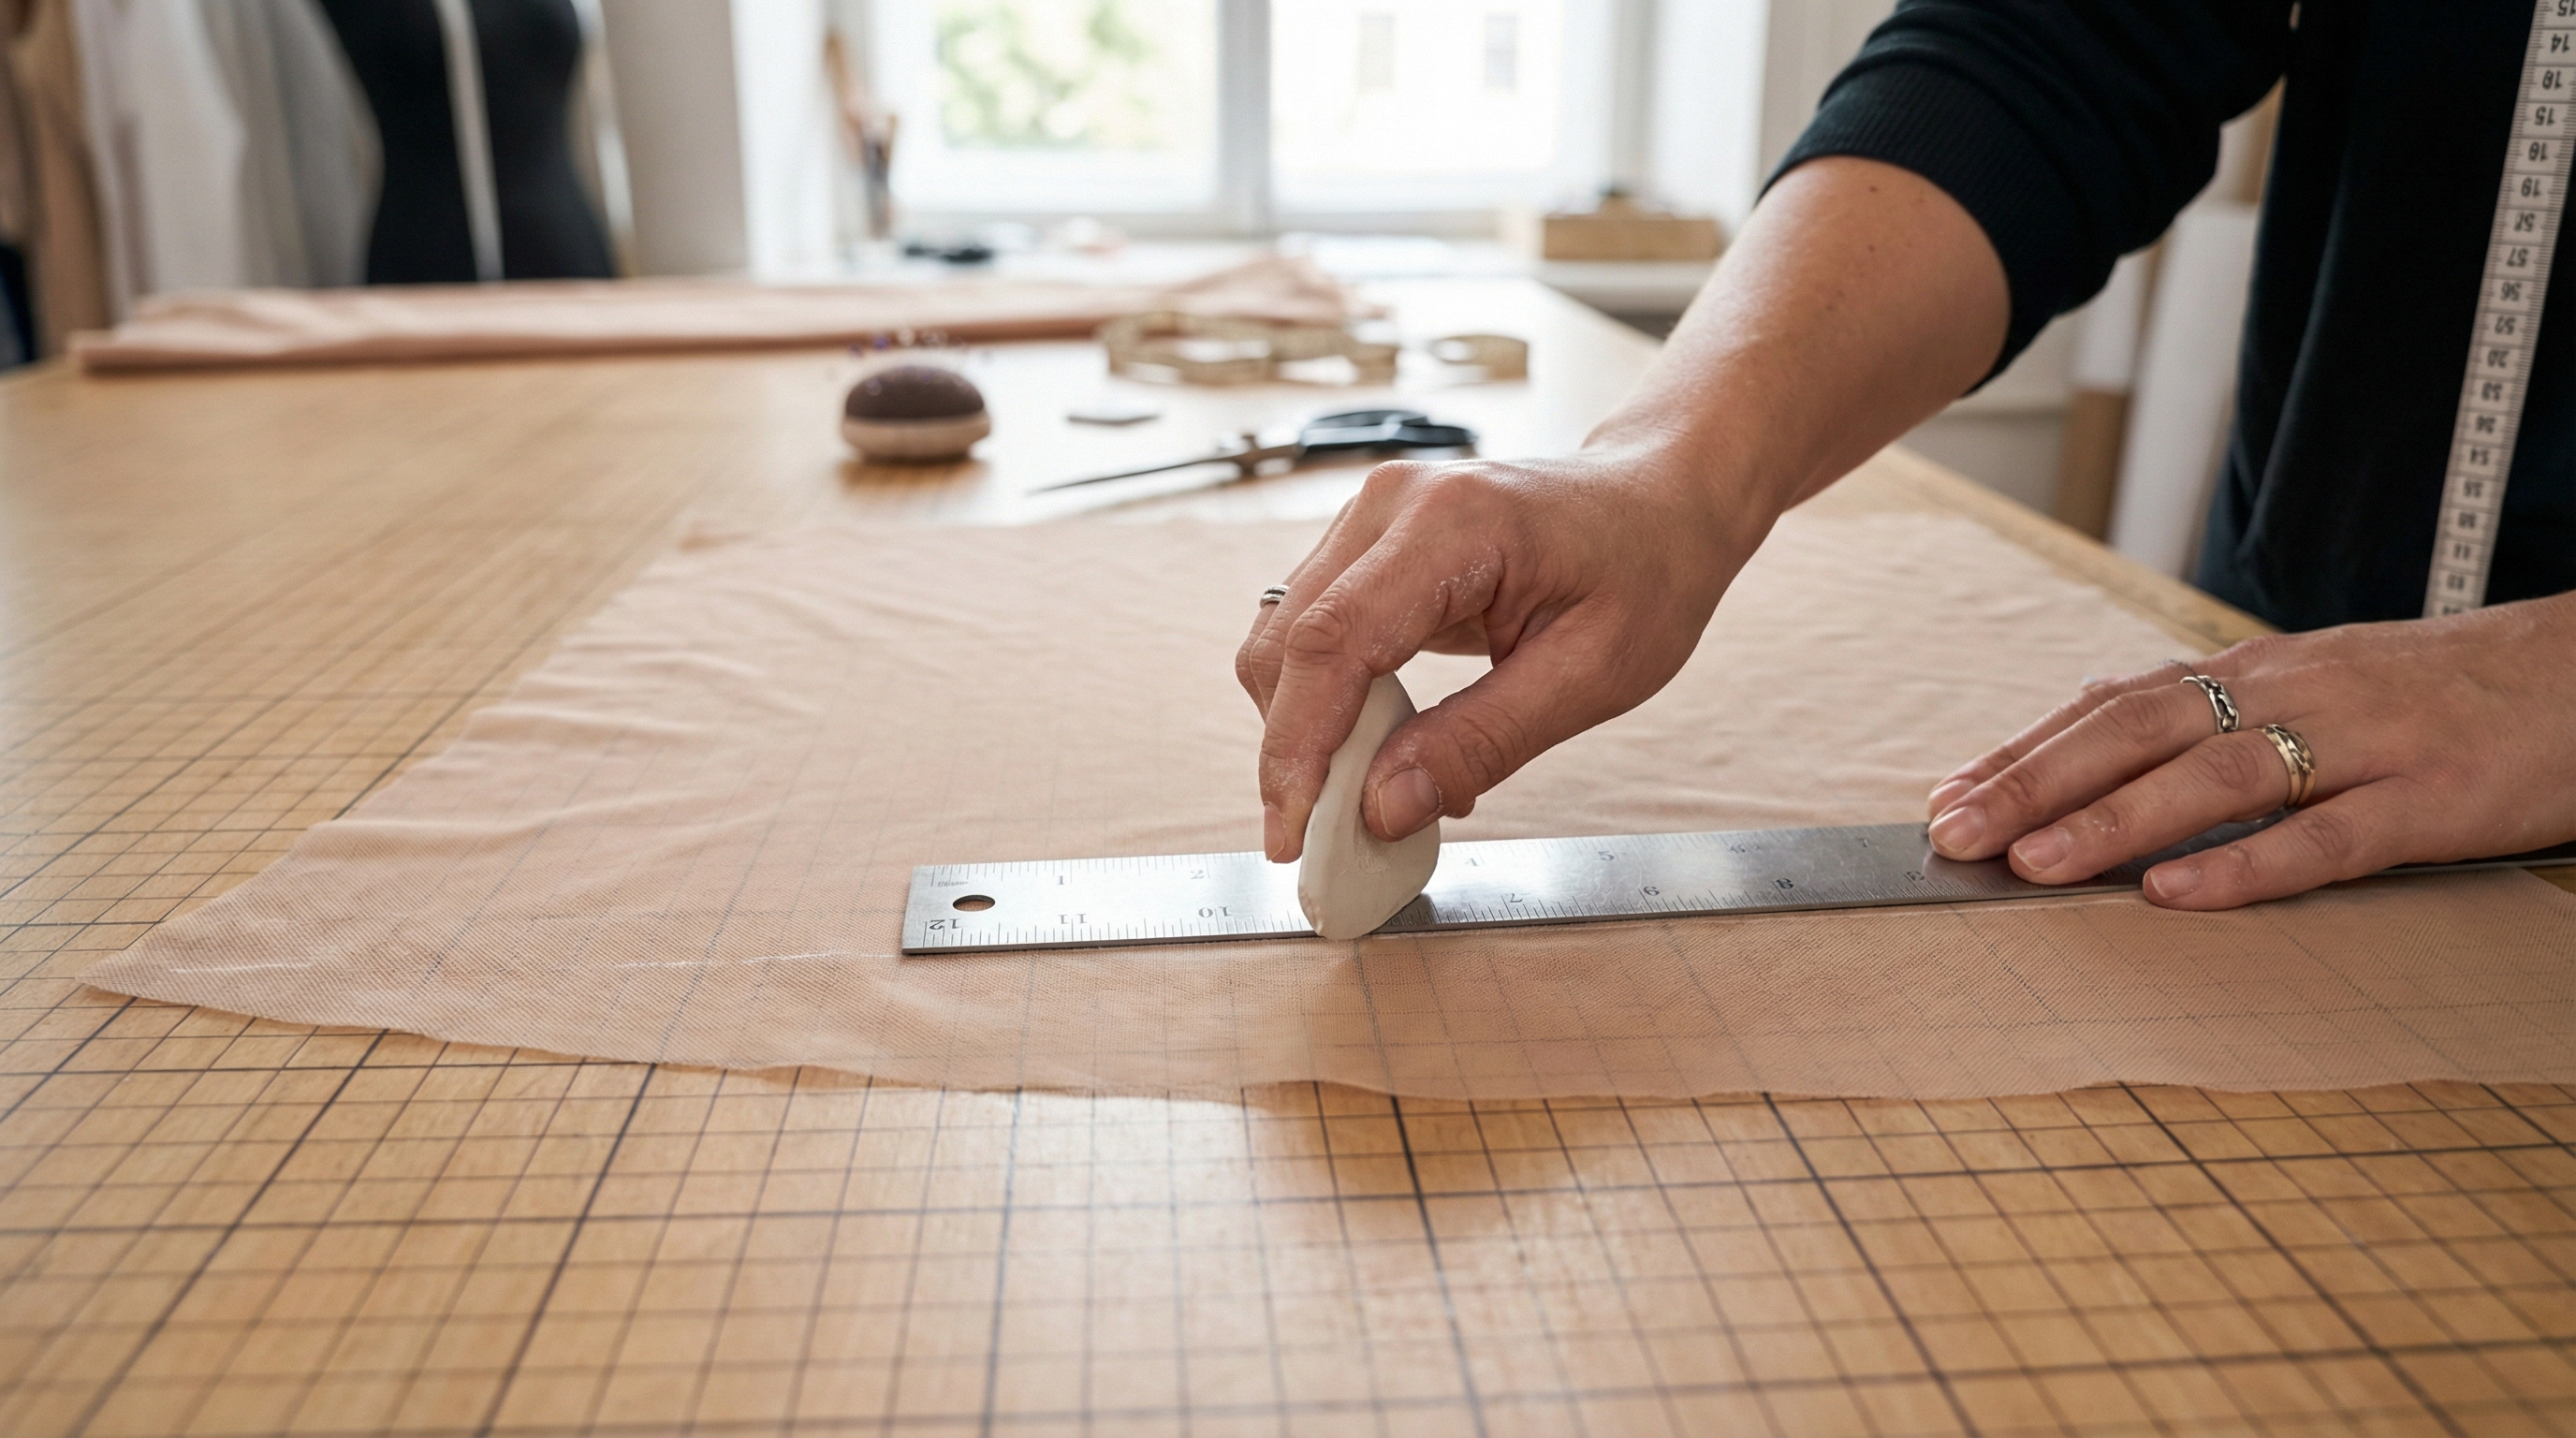
How to manage power mesh fabric seams?
Precise management of seam allowances when working with power mesh fabric is vital to prevent the bulky, unattractive ridges that often appear in sheer garments. You should generally aim for a narrow 1/4 inch (6mm) allowance to keep the profile of the garment as slim as possible. Larger allowances tend to roll or shadow through the transparent layers, distracting from the overall aesthetic of your design.
How to avoid bulky seams?
Keeping your allowances small is the simplest way to maintain a couture-level finish. Many designers prefer to trim the allowance after sewing to ensure accuracy.
Look: a wide seam allowance in a transparent fabric is a major design flaw.
- Trim to 1/4 inch post-sewing.
- Use sharp rotary cutters for precision.
- Consider enclosed seams for luxury.
How to mark sheer materials?
The point is this: you need marking tools that won’t bleed or leave permanent ghosts in the mesh holes. Tailor’s chalk or disappearing ink pens are usually the safest bets.
| Allowance Width | Project Type | Benefit | |
|---|---|---|---|
| 1/4 Inch (6mm) | Lingerie/Body-con | Invisible profile | |
| 5/8 Inch (1.5cm) | Structured Overlays | Room for French Seams |
Balancing the width of the allowance with the garment’s function ensures both durability and visual appeal.
Key Takeaways:
- Narrow seam allowances prevent visible bulk in sheer areas.
- Trim allowances after sewing if you struggle with narrow margins.
- Always use non-permanent marking tools to protect the fabric.
How to pin slippery power mesh fabric?
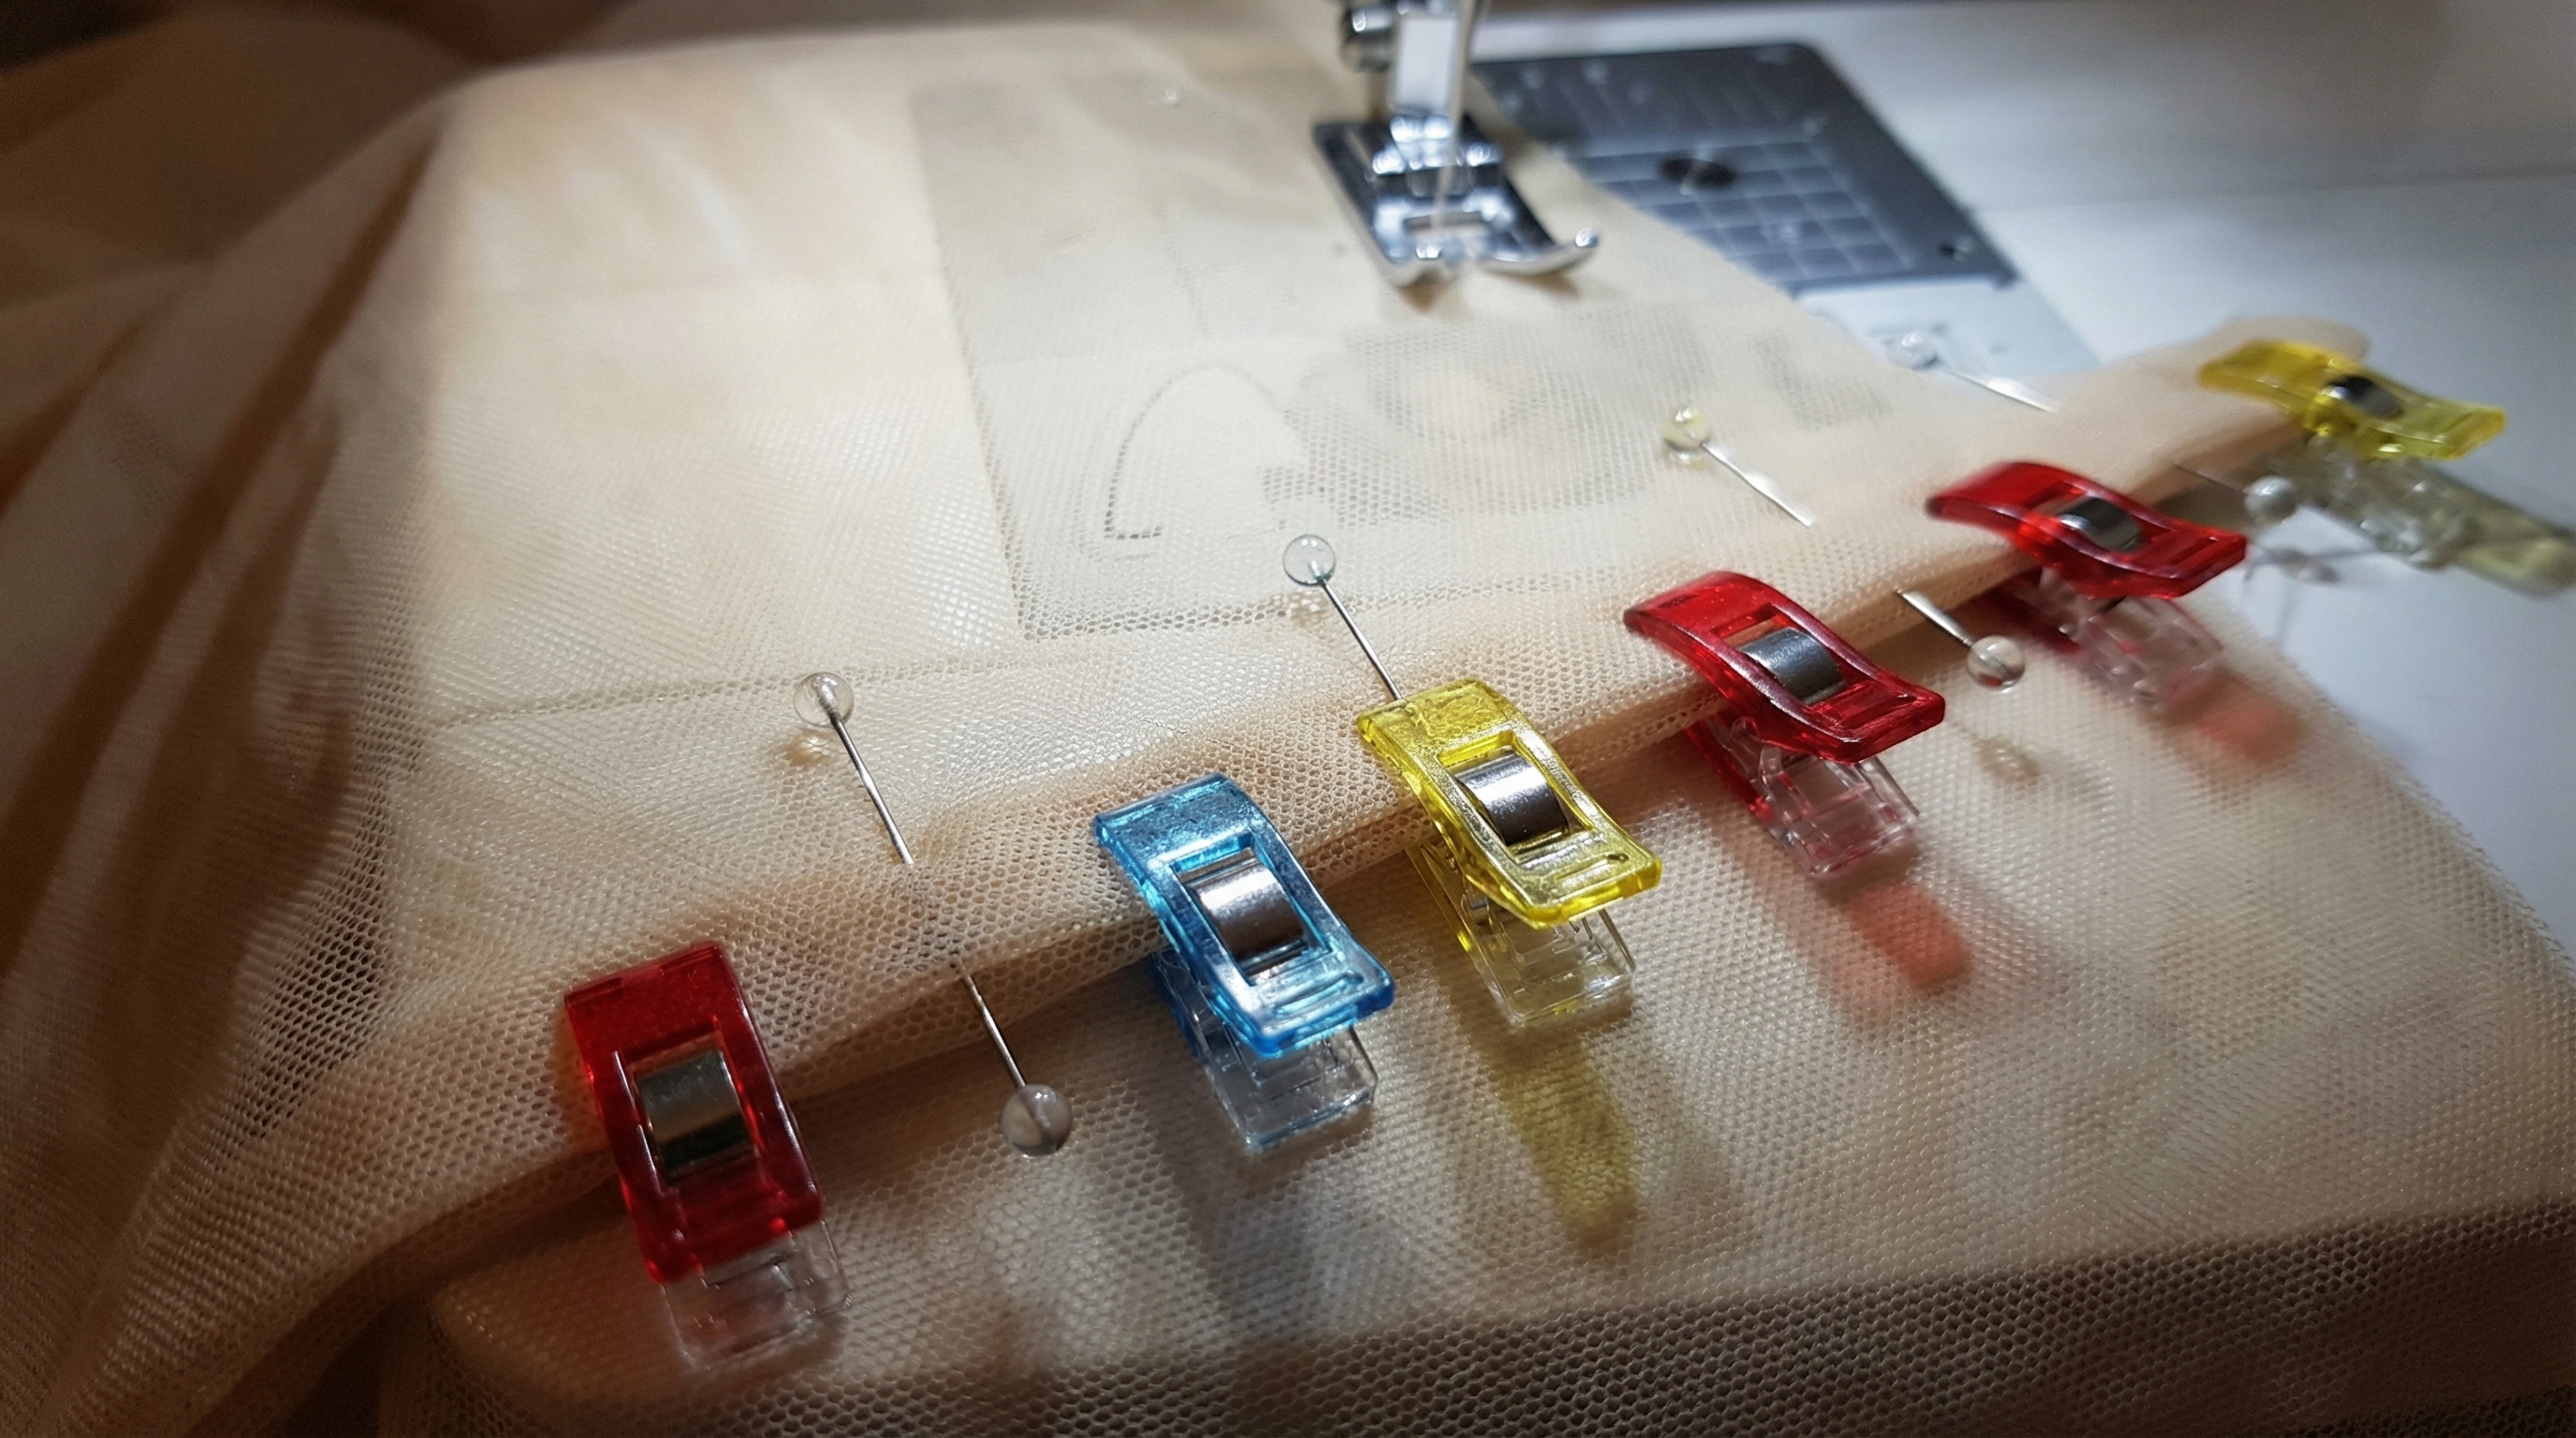
Securing power mesh fabric requires specialized techniques because the material is notoriously slippery and prone to shifting during the sewing process. Instead of standard dressmaker pins, you should use extra-fine silk pins or modern sewing clips to hold layers together without causing distortion. Positioning your fasteners within the seam allowance is a professional habit that prevents visible puncture marks in the finished garment.
Should you use sewing clips?
Sewing clips are often superior to pins when working with multiple layers of mesh. They provide a firm grip without the risk of the fabric “sliding” off the pin shaft.
Believe it or not, clips are much easier to remove quickly as you approach the needle.
- Prevents fabric shifting.
- No risk of needle damage.
- Leaves zero holes in the net.
Why choose silk pins?
If you prefer traditional pinning, silk pins are the way to go. Their ultra-thin profile allows them to slide through the mesh without snagging the fine knit.
| Tool | Best For | Level of Grip | |
|---|---|---|---|
| Silk Pins | Delicate Tulle/Mesh | High Precision | |
| Sewing Clips | Multi-layer Power Mesh | Maximum Hold |
Mixing these tools allows you to adapt to the specific complexity of different garment sections.
Key Takeaways:
- Pin only within the seam allowance to protect the visible fabric.
- Use clips for thick layers or when you want to avoid punctures.
- Silk pins are necessary for high-precision, delicate areas.
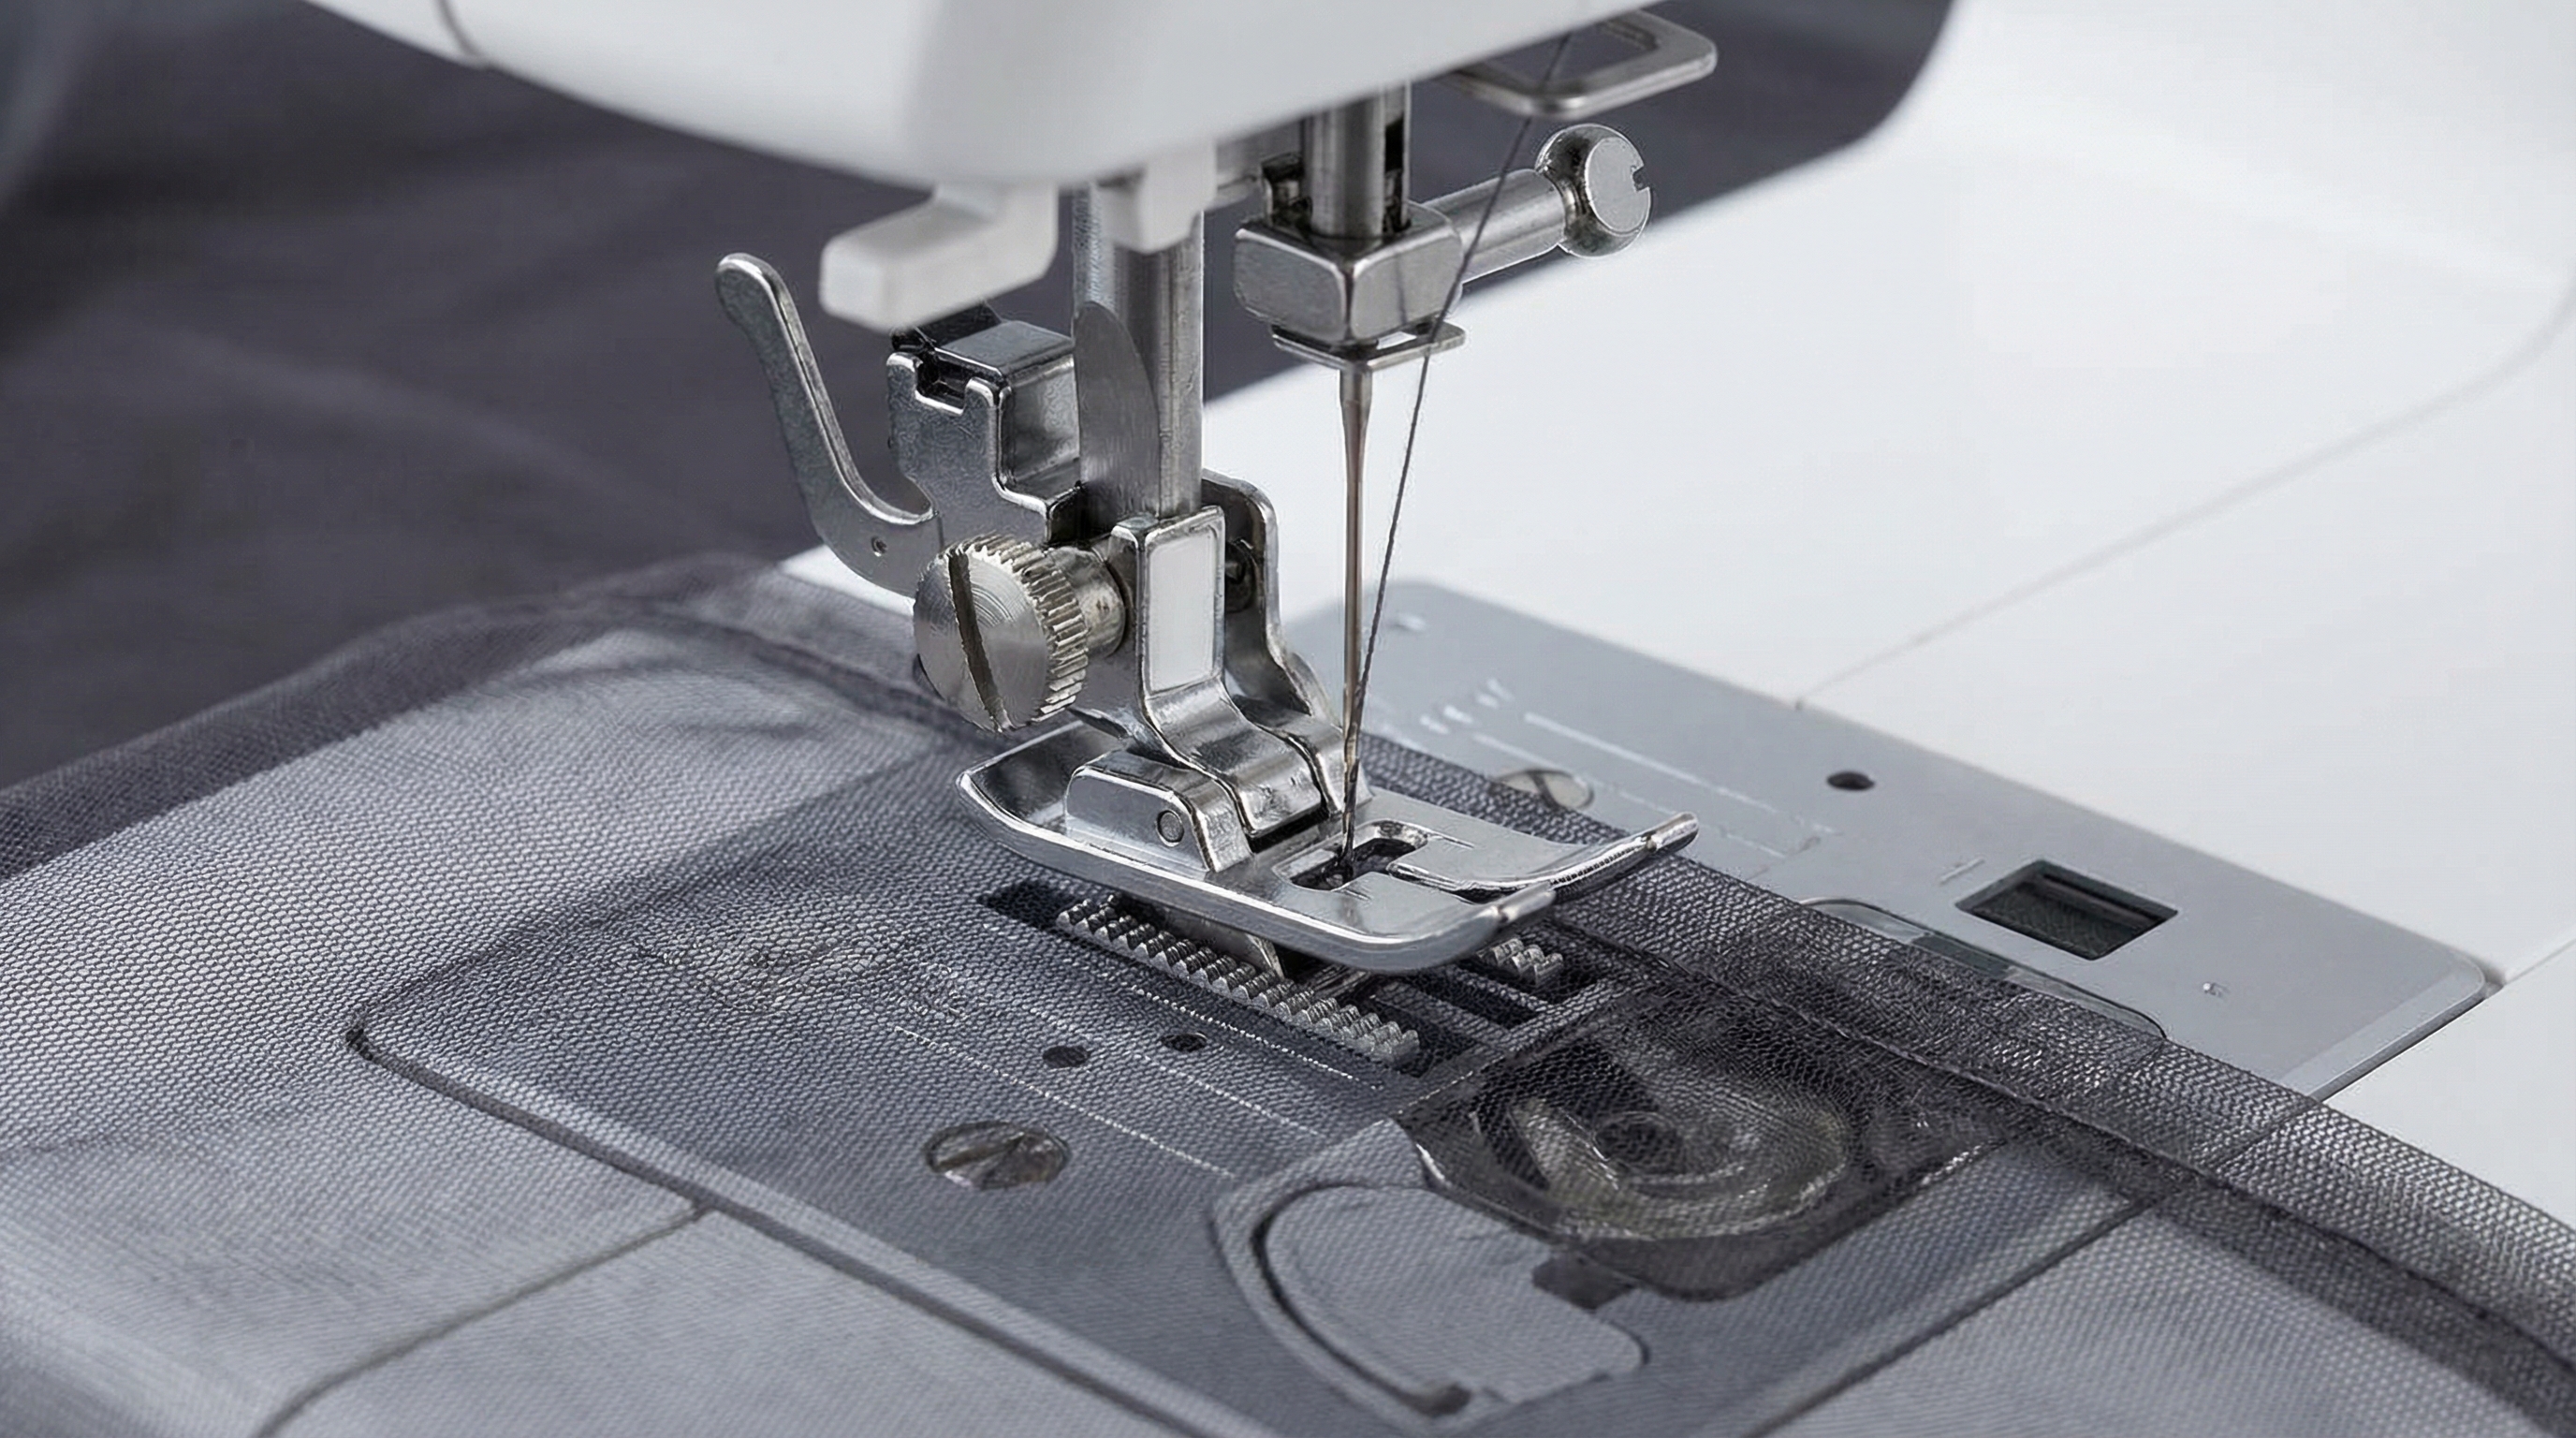
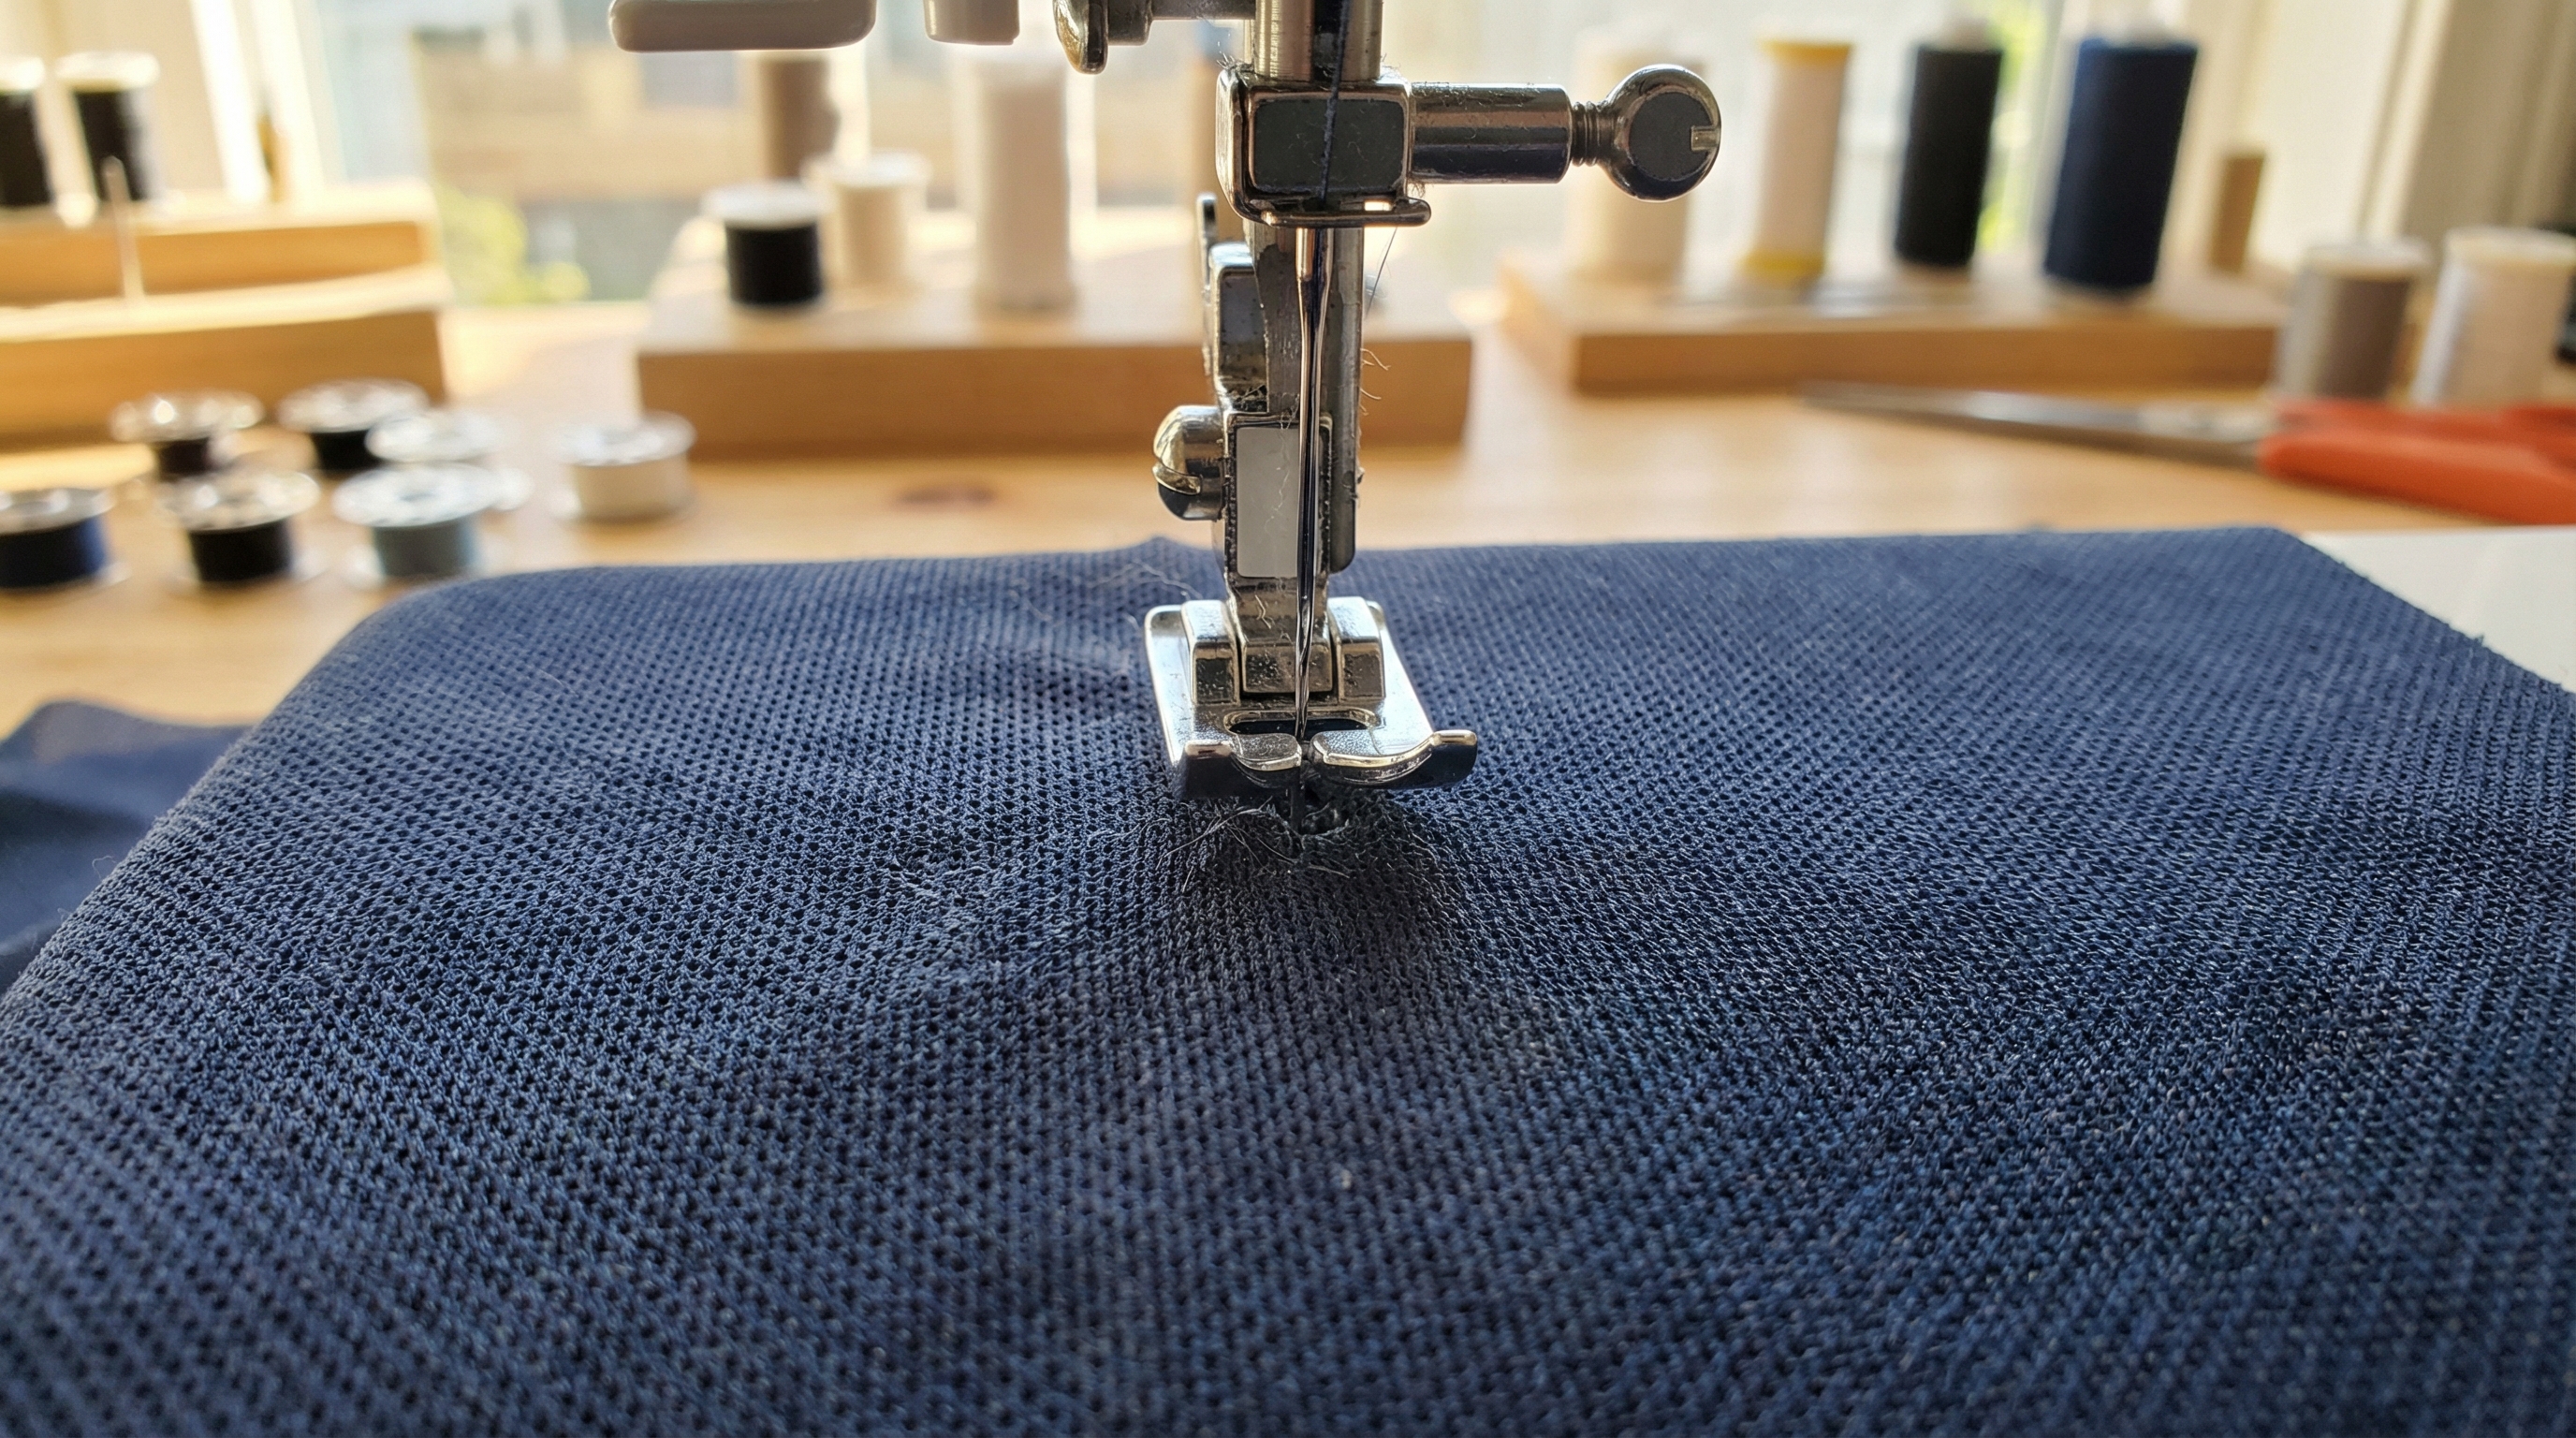
Which foot guides power mesh fabric?
Utilizing a walking foot or an even-feed foot is the best way to ensure power mesh fabric feeds evenly through your machine without stretching. This attachment features its own set of feed dogs that move the top layer of fabric at the exact same speed as the bottom layer. Without this synchronization, the top layer often ends up longer than the bottom, resulting in “wavy” or puckered seams.
How does a walking foot help?
The walking foot eliminates the friction caused by a standard presser foot. It “walks” over the fabric rather than sliding, which is critical for stretchy knits.
Simply put, it prevents the machine from dragging the top layer of your project.
- Synchronizes top and bottom feed.
- Eliminates seam ripples.
- Handles multiple layers easily.
Is a Teflon foot useful?
It gets better. If you are working with coated or “sticky” mesh variants, a Teflon foot can reduce surface friction significantly. This prevents the fabric from getting caught or stuck under the foot.
| Presser Foot | Mechanism | Recommended For | |
|---|---|---|---|
| Walking Foot | Top Feed Dogs | All Stretch Power Mesh | |
| Teflon Foot | Low Friction | Coated/Glitter Mesh |
Investing in the right foot attachment is the fastest way to upgrade your sewing quality.
Key Takeaways:
- A walking foot is the gold standard for preventing wavy seams.
- Avoid standard feet for long, continuous stretch seams.
- Use a Teflon foot for any mesh that feels “tacky” or grippy.
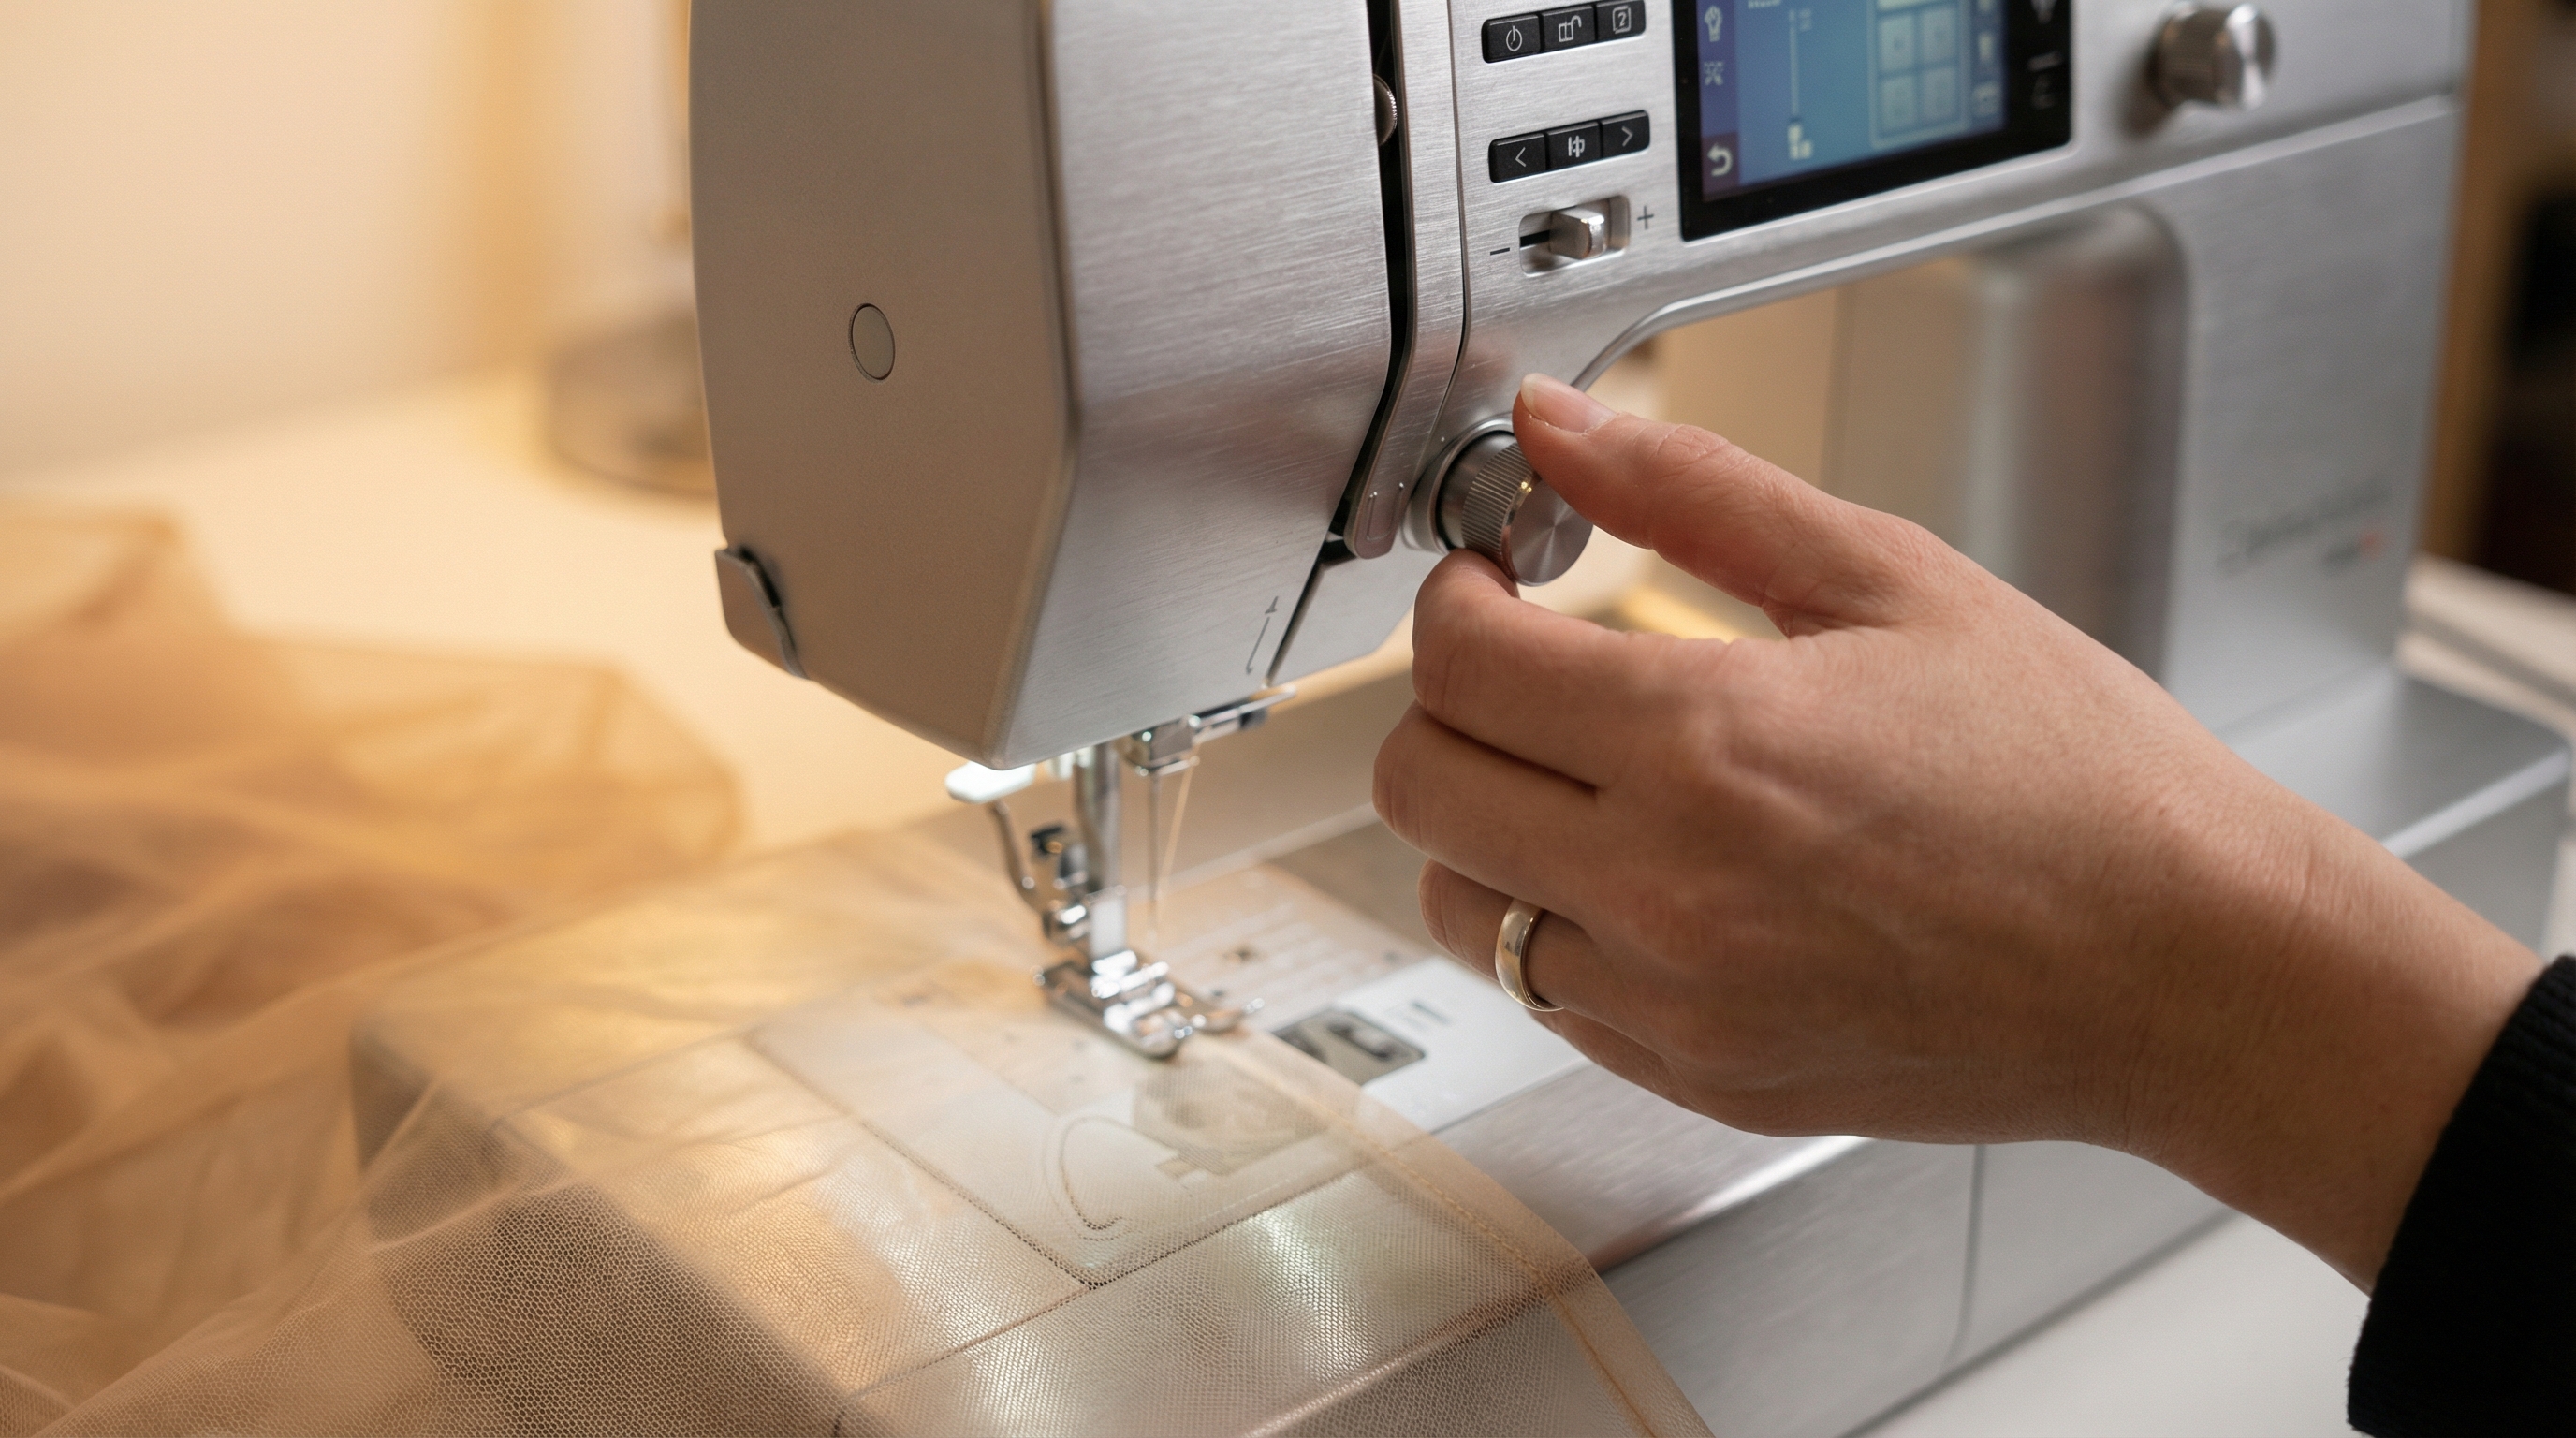
How to set power mesh fabric pressure?
Reducing the presser foot pressure on your sewing machine is a critical adjustment when handling power mesh fabric. Most machines are factory-set for medium-weight wovens, which can be far too heavy for delicate, airy nets. If the pressure is too high, the foot will “plow” the fabric forward, creating permanent indentations or stretching the seam out of shape.
Why lower presser foot pressure?
Lowering the pressure allows the fabric to glide freely between the foot and the feed dogs. This is especially important for lightweight knits that lack structural density.
The point is this: the fabric should be held, not crushed.
- Prevents fabric distortion.
- Reduces “rippling” effects.
- Protects delicate fibers.
How to identify high pressure?
You can tell the pressure is too high if you see “waves” forming in front of the presser foot as you sew. This indicates the fabric is being dragged rather than fed.
| Pressure Level | Fabric Weight | Result | |
|---|---|---|---|
| Low (1-2) | Lightweight Mesh | Smooth, flat seams | |
| Standard (3+) | Heavy Drapery | Causes mesh stretching |
Testing this setting on a scrap piece will save you from ruining your main garment.
Key Takeaways:
- Lower your pressure settings to a 1 or 2 for most mesh projects.
- Check for “waves” as a sign that pressure needs adjustment.
- Adjusting pressure is just as important as choosing the right stitch.

How to finish power mesh fabric edges?
Professional finishing for power mesh fabric typically involves using a serger for a clean, flexible overlocked edge. While some mesh types do not technically fray, an unfinished edge can look amateurish and feel uncomfortable against the skin. For higher-end couture garments, an elegant French seam provides a fully enclosed, durable finish that maintains the transparency of the design.
Is serging best for mesh?
Serging is the industry standard because it trims, seams, and finishes the edge in one motion. It provides the maximum amount of stretch needed for athletic wear.
Bottom line? A 4-thread overlock stitch is the most durable choice.
- Provides clean industrial look.
- Handles high-stretch requirements.
- Quick and efficient for production.
When to use French seams?
Look: French seams are the height of luxury for sheer overlays. They hide the raw edges inside a tiny fabric “tunnel,” making the garment look beautiful from the inside out.
| Finish Method | Aesthetic | Durability | |
|---|---|---|---|
| Serged Edge | Industrial/Clean | High | |
| French Seam | Couture/Hidden | Moderate |
Choose your finish based on whether the garment is intended for the gym or the red carpet.
Key Takeaways:
- Serging is ideal for activewear and daily apparel.
- French seams are the preferred choice for high-end sheer designs.
- Always ensure your finish allows for the fabric’s full range of stretch.

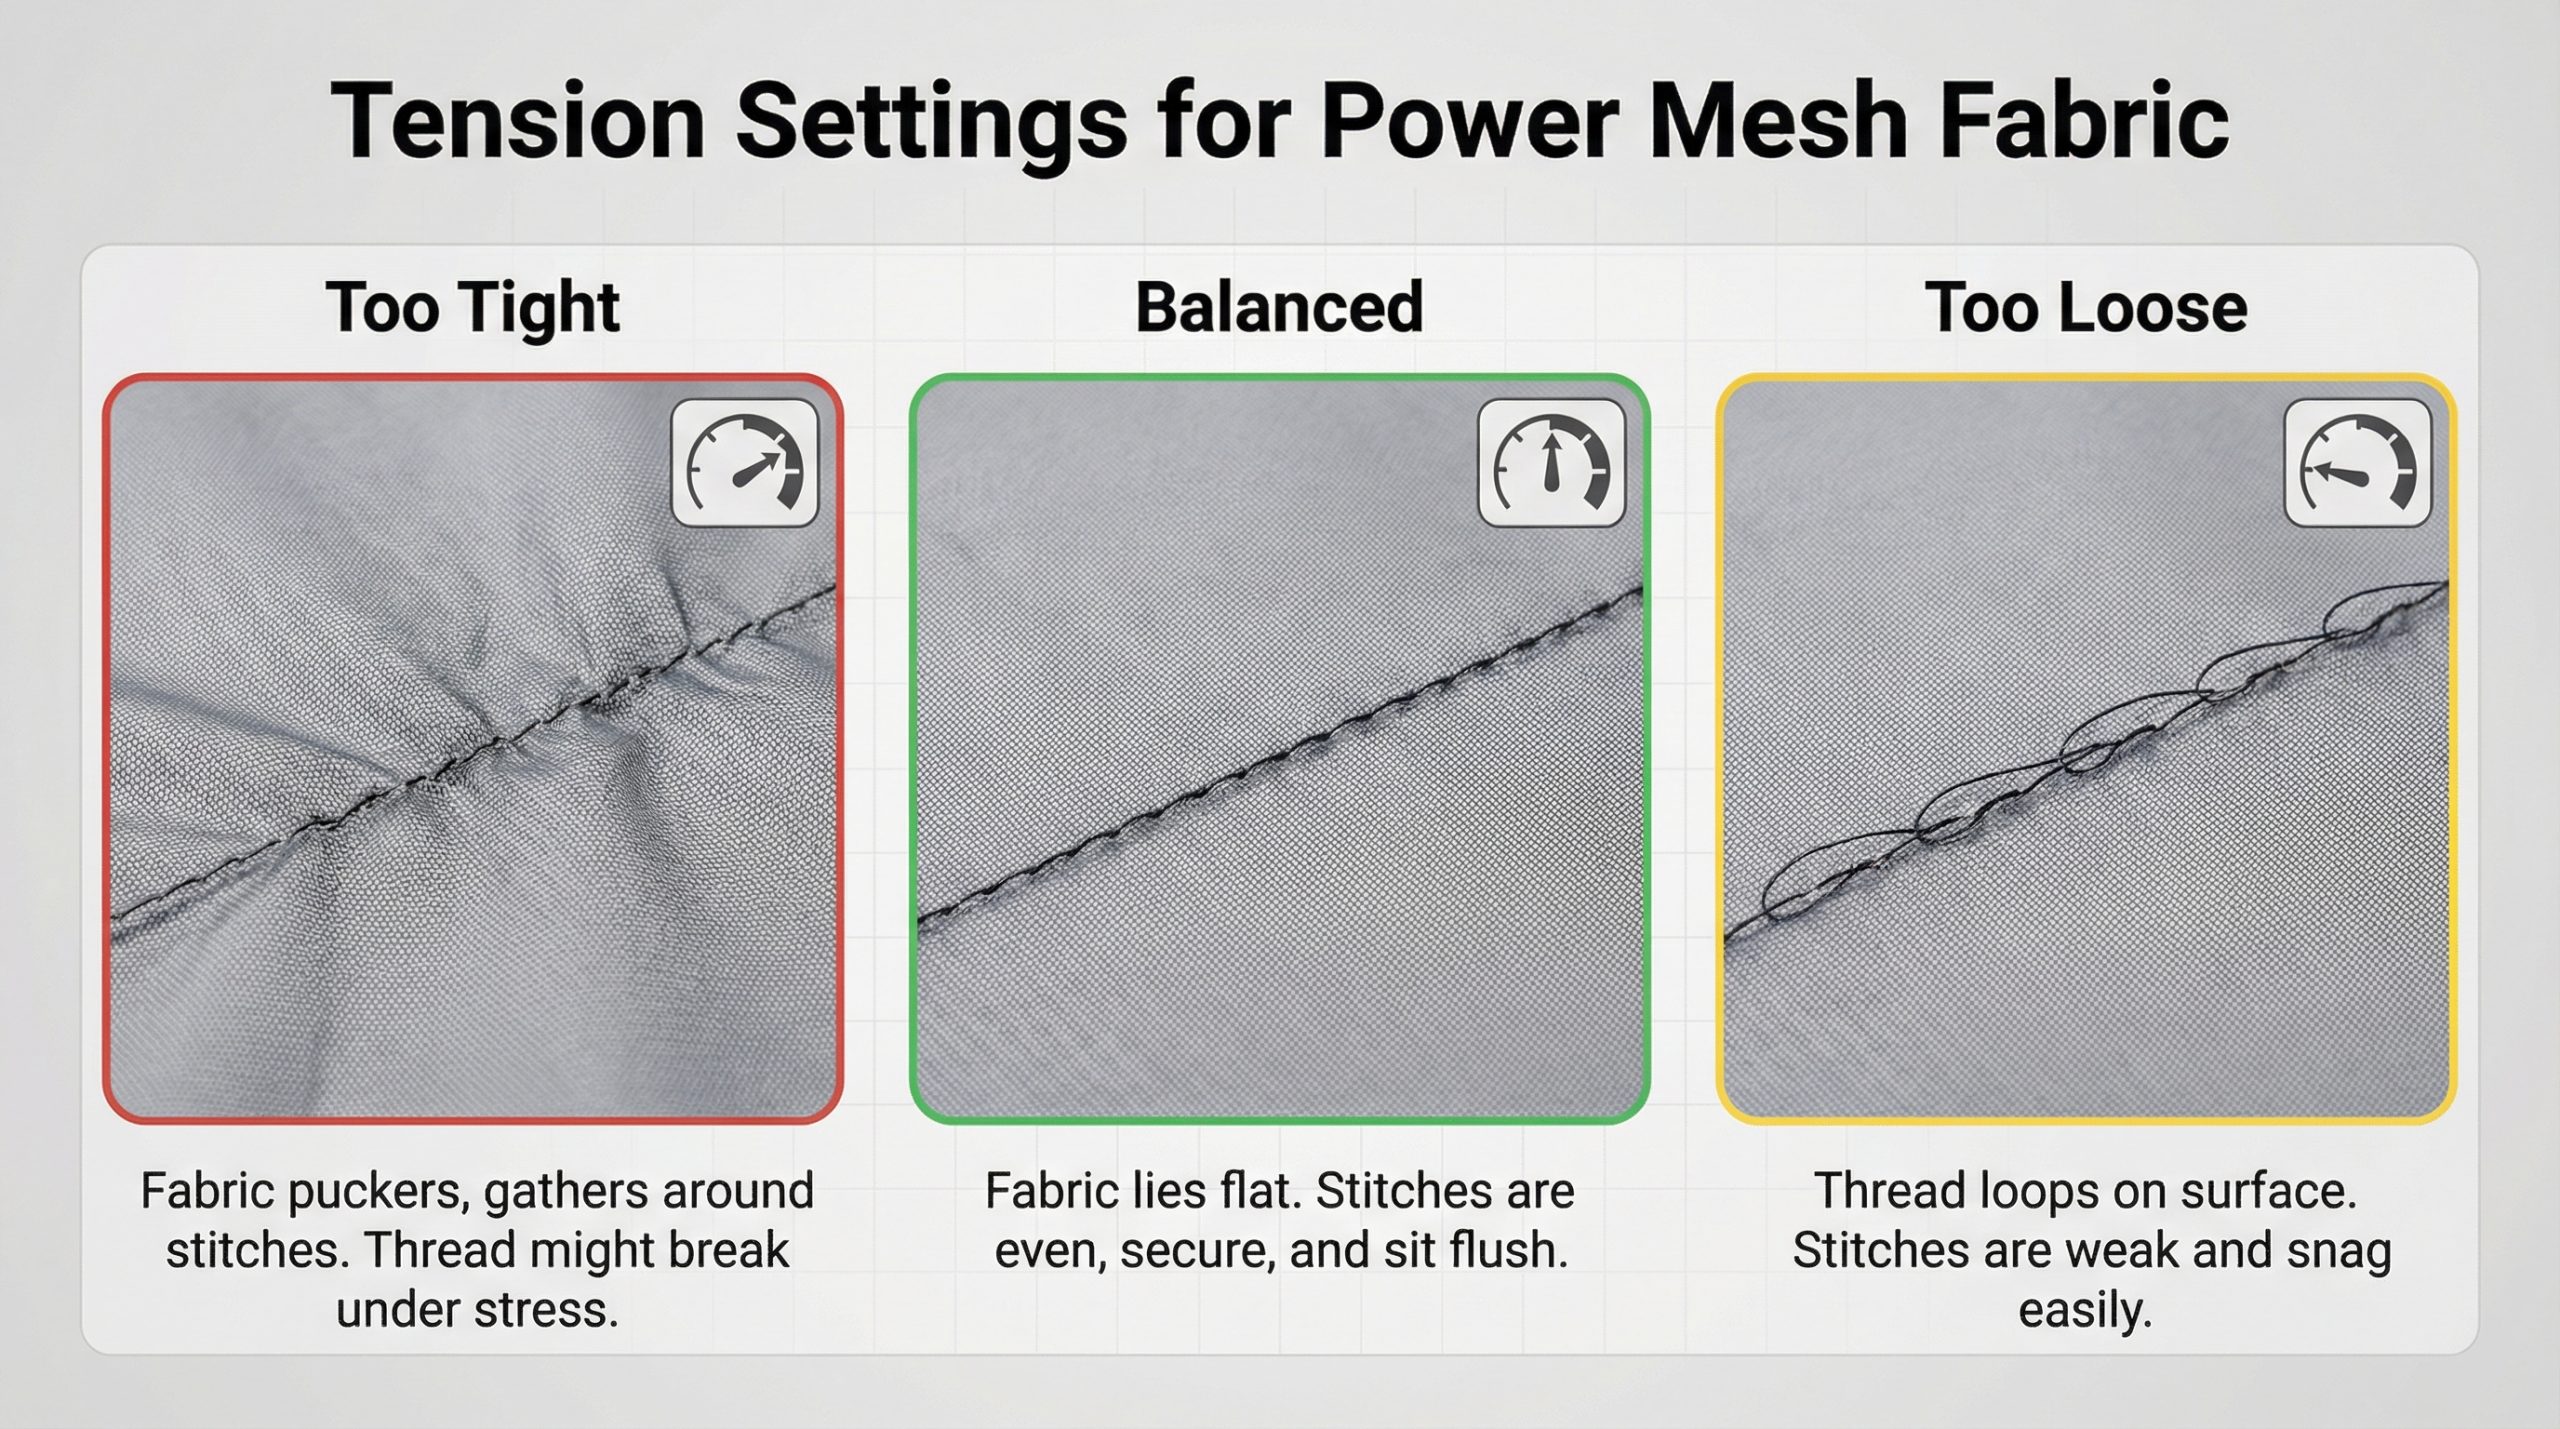
Why is power mesh fabric tension vital?
Calibrating your machine’s tension is essential when working with power mesh fabric to prevent “tunneling,” which is when the fabric bunches up between the zig-zag peaks. Incorrect tension settings can also lead to skipped stitches or thread breakage when the garment is worn. You generally need to loosen the top tension slightly to allow the stitch to sit comfortably on the surface of the mesh without pulling it inward.
How to stop fabric tunneling?
Tunneling happens when the thread tension is too tight for the fabric’s weight. By loosening the top dial, you give the thread more “slack” to form the stitch.
Think about it. The stitch should be a flat bridge, not a tight rope.
- Loosen top tension incrementally.
- Use balanced bobbin tension.
- Check for flat, even results.
How to troubleshoot puckers?
As it turns out, puckers are often a sign of uneven tension between the top and bottom. If you see loops on the bottom, your top tension is actually too loose.
| Tension Issue | Symptom | Fix | |
|---|---|---|---|
| Too Tight | Fabric Puckering | Loosen Top Tension | |
| Too Loose | Loops on Bottom | Tighten Top Tension |
A balanced stitch is the secret to a professional-looking garment that doesn’t look “homemade.”
Key Takeaways:
- Loosen top tension to prevent fabric tunneling.
- Always perform a tension test on a scrap of the exact mesh you are using.
- Balanced tension ensures the seam stretches without snapping.
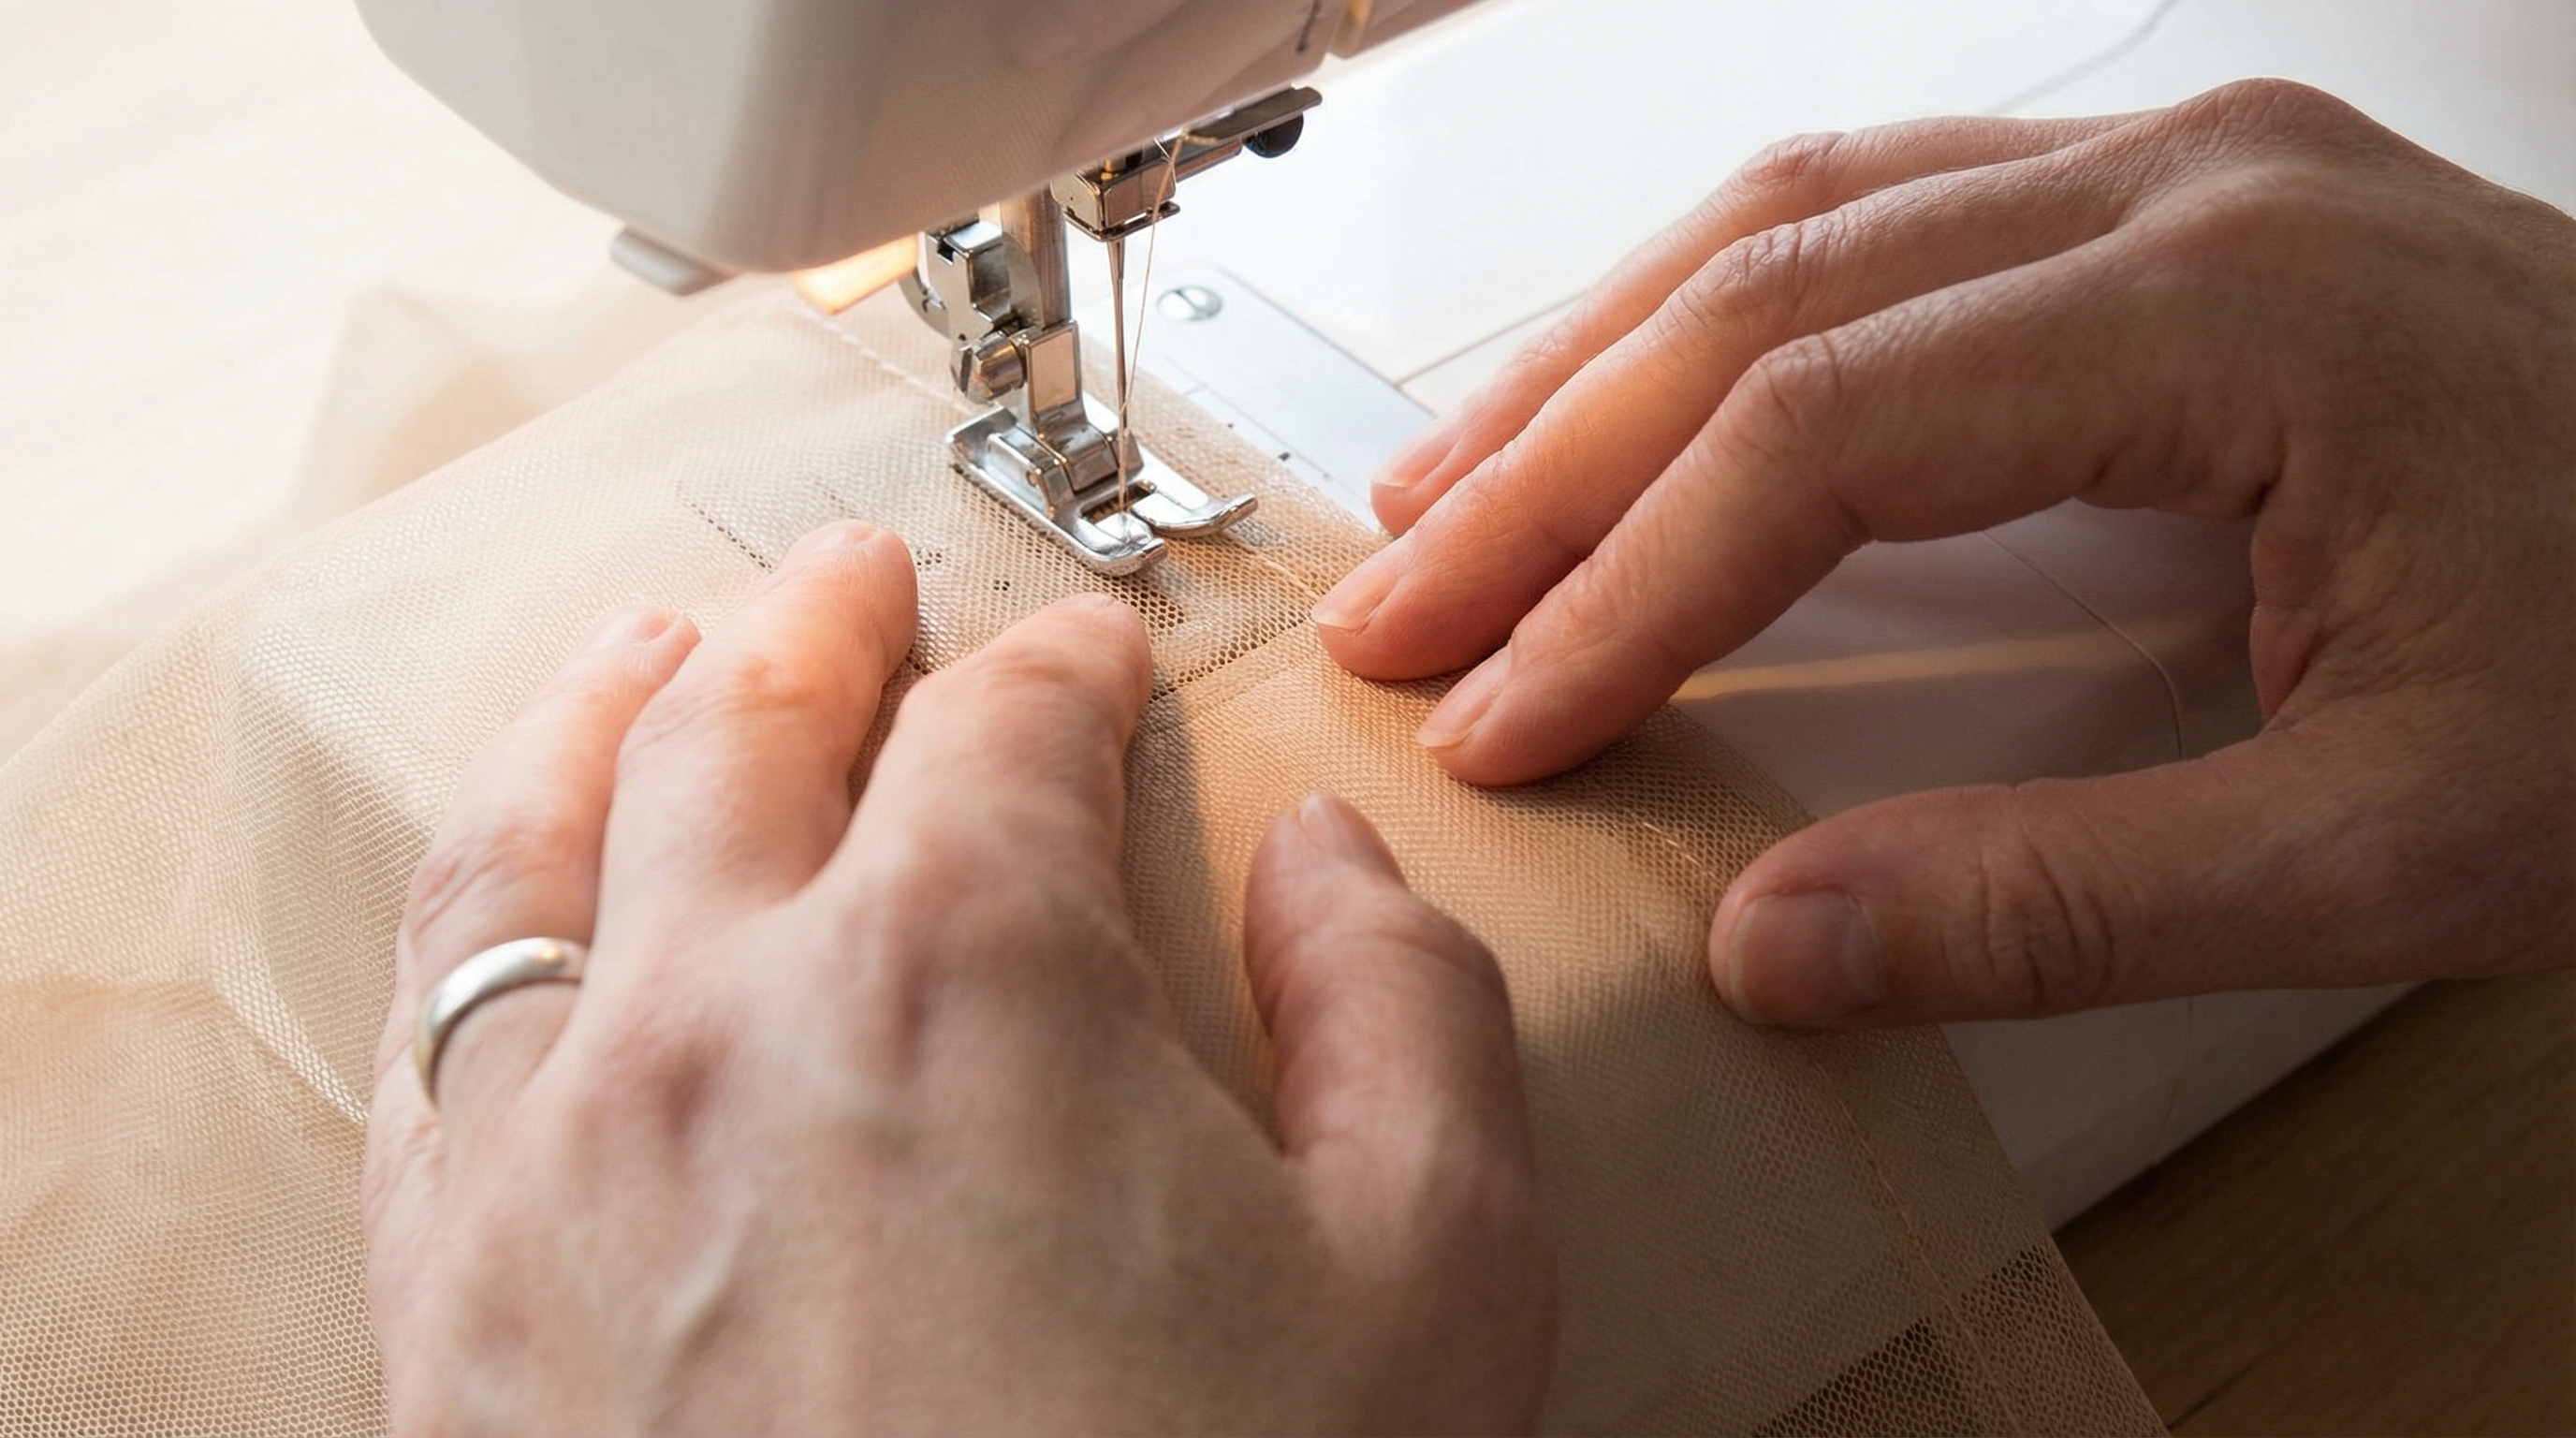
How to handle power mesh fabric safely?
Gentle handling and a “hands-off” feeding technique are the final secrets to successfully sewing power mesh fabric. You must allow the machine’s feed dogs to move the fabric at their own pace rather than pulling or pushing the material through. Manually stretching the fabric as it passes under the needle will cause the seams to become permanently distorted and “wavy” once the tension is released.
Why avoid pulling the fabric?
Pulling the fabric disrupts the timing of the needle and the feed dogs. This leads to uneven stitch lengths and potentially broken needles.
Here is the deal: your job is to guide, not to drive.
- Let the machine do the work.
- Use a light touch for guidance.
- Maintain consistent feeding speed.
Why is sample testing mandatory?
The point is this: five minutes of testing on scraps can save you hours of seam ripping. Every roll of mesh has a slightly different stretch percentage and density.
| Handling Rule | Action | Why? | |
|---|---|---|---|
| No Pulling | Guide lightly | Prevents distorted seams | |
| Test First | Sew a 4″ scrap | Confirms all settings |
Patience during the feeding process ensures that your final garment maintains its intended silhouette.
Key Takeaways:
- Guide the fabric lightly and never pull it through the machine.
- Always sew a test swatch to verify your machine settings.
- Maintain a steady, moderate pace for the most consistent stitch quality.
Professional mesh sewing is an achievable skill that elevates your design capabilities from basic apparel to high-performance couture. By mastering needle selection, calibrating tension, and adopting a delicate handling technique, you resolve the common frustrations of puckering and fabric damage. As the industry moves toward more breathable and versatile textiles, these technical foundations will remain essential for any designer or manufacturer aiming for excellence. Ready to source the highest quality materials for your next project? To explore our wholesale collections and custom manufacturing options, contact us today .
FAQ
Can I sew mesh on a regular sewing machine?Yes, you can. While a serger is helpful, a standard machine can handle mesh perfectly well as long as you use a ballpoint needle and a zigzag or stretch stitch to maintain elasticity.
What’s the best way to prevent the machine from “eating” the mesh?Place a piece of tissue paper or water-soluble stabilizer under the fabric at the start of the seam. This provides the feed dogs with enough surface area to grip, preventing the delicate net from being pulled into the throat plate.
Can I use a straight stitch on power mesh?It is generally not recommended for seams that need to stretch. A straight stitch is rigid and will likely snap as soon as the garment is put on or moved in; use it only for non-stretch areas like stay-stitching.
What is the best needle size for very fine mesh?A size 70/10 ballpoint or Microtex needle is the professional choice. These smaller needles create smaller holes, which is crucial for maintaining the delicate look and structural integrity of fine-gauge netting.
Do I need to finish the edges of power mesh?Technically, most synthetic meshes do not fray, so finishing is optional for durability. However, finishing with a serger or French seam provides a much higher level of comfort and a professional aesthetic that is expected in quality garments.